What is an RFP?

Blog
If your business is considering expanding your services or improving the infrastructure and processes you currently have in place, it is likely that you have considered finding a third-party vendor to provide these for you. Click here to know more about What is an RFP?
Read More

Guide to fix GTIN issues in Google Shopping

Blog, IT Outsourcing, Software Development, Tutorials
Today we'll look into Identifier-related errors in Merchant Center. We'll talk about why these errors happen and how to fix them. What is GTIN? GTIN is a unique product identifier which have to be inserted into the product data feed file in the Google Merchant Center. The abbreviation stands for Global Trade Item Number. Such Product identifiers are a series of numerical or alphanumerical digits - a barcode assigned to a product. They help to identify and recognize a specific product. UPIs are assigned by manufacturers or a designated organization (such as GS1), unlike ASIN or eBay item number - which are identifiers assigned by the selling platform itself. As the name suggests, it is a unique number assigned to each product which helps Google in its identification. Thanks to GTIN, Google can correctly classify the product and…
Read More
Smart Countdown Timer Shopify App

Smart Countdown Timer Shopify App

Blog, Shopify
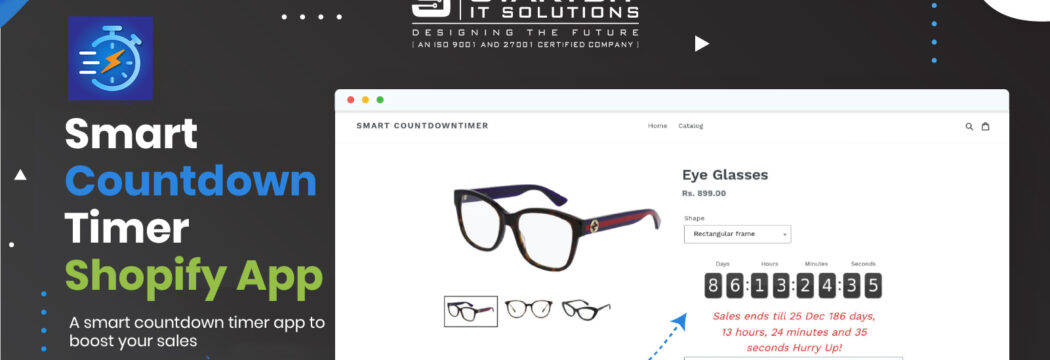
Smart Countdown Timer by Startbit IT Solutions lets you create a beautiful countdown timer with nice colors to attract more shoppers. With Smart Countdown Timer, you can create and schedule a global countdown timer, Product based countdown timer and collection based countdown timer with a customized messages, custom colors and schedule start and end time. Smart Countdown Timer creates a sense of urgency and it encourages shoppers to take immediate action which results in increased conversion rates for your store as well as helps you run more effective sale or promotions. Automatic & Fully Configurable: After an automatic install, Smart Countdown Timer display countdown timer on all product pages to notify customers and encouraging them to order quickly so they can order before the cut time. You can also configure…
Read More
Shopify Tutorials: Shopify Apps Charges Types

Shopify Tutorials: Shopify Apps Charges Types

Blog, Shopify, Software Development, Tutorials
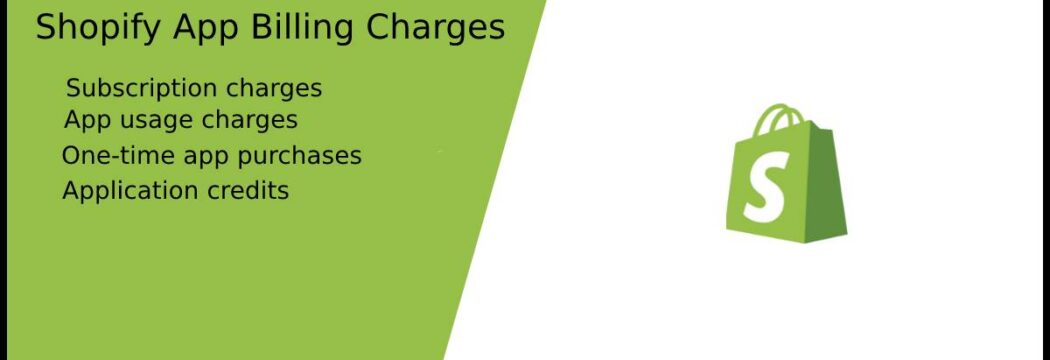
There are four different types of Shopify apps charges:. Subscription chargesApp usage chargesOne-time app purchasesApplication credits Subscription charges These types of Shopify apps charges are for recurring apps such as monthly subscriptions. These subscription charges appear on regular Shopify subscription bills. We can bill for app subscriptions and app usage as part of Shopify's 30-day subscription billing period. Does not matter app has a separate 30-day billing cycle, which impacts the charges you'll see on your Shopify bill. We have invoiced every 30 days for the Shopify subscription and paid in advance for the following 30 days. For example, if you receive a Shopify invoice on April 5th, then Billing cycle will completed on May 4th. On May 5th, you will be billed for the next month of your app…
Read More

Why to use Laravel Framework?

Blog
Nowadays Laravel is the most recognized server-side language which PHP developers are experiencing. Laravel makes development a creative, enjoyable and truly fulfilling experience. Laravel is a framework that helps us to make our routine tasks easier. Laravel is used in most web projects such as E-commerce, Administrative tool, Forum management, Quiz management. Apart from being accessible, it also provides powerful tools needed for massive, robust applications. Here we are going to describe some benefits of Laravel: 1) In-built Authentication: With Laravel, we can easily take care of user authentication as everything is already configured and in-built in the framework. For developers, Laravel offers a structured way to outline the authorization logic, saving time and making things simpler. When we first install Laravel it also installs simple login and register functionality.…
Read More
Why to work with an outsourced IT partner?

Why to work with an outsourced IT partner?

Blog, Corporate Profile, IT Outsourcing
We have seen that some big MNC companies maintain their own in-house team for IT related work. It's fruitful and effective for them to manage daily activities, but for some companies, it's not cost effective as well as manageable. Such companies must go with an outsourced partner to get their IT work done. Here are the list of reasons like why having an outsourced partner is a good option for them: Pool of experts An outsourced partner always maintains a pool of experts with them all the time. And for a company such a resource/expert is not required all the time. They might need it on an ad-hoc basis and for quite some time only, such a partner can provide the resource on immediate basis and for the duration required…
Read More

Add a size chart to Shopify product pages

Blog, Shopify
Some wearable items like shirts, jeans, shoes etc. are available in different sizes according to consumer's physic. Showing a size chart on related products is a plus point for website owner and customer as well. Now we would like to describe you steps through which you can add size chart option on product page. First we will create a size chart page with using below steps: 1) Login in your Shopify admin panel 2) Go to Online Store > Pages. 3) Click Add page. 4) Add page title "Size Chart" 5) On this page, you can add either a table or an image with the size chart you want to use. 6) Set Visibility as "Visible". 7) Click on "Save" button to save this page. Now we will show the…
Read More

Setting up Google Analytics on Shopify Website

Blog, Shopify
Google Analytics is an easy and free web analytics service which help to track and analyze visitors on your website and provide detailed statistics about the traffic and sources of traffic for a website. Here we would like to show you steps to use Google Analytics for your Shopify website. Please login in your Shopify admin panel, go to online store which you can find on left sidebar Click on Preferences under online store On right side, you will see option to enter Google Analytics codePaste yours google analytics code in textarea and press Save button. You will see this section like below: That's All. You have successfully setup Google Analytics code on your Shopify store and now you can easily track traffic of your website on Google Analytics.
Read More