


WordPress and Shopify operate on different systems, there may be some differences in the migrated content compared to the original WordPress version. I will share the best approach for migrating WordPress pages and posts to Shopify.
Steps to migrate Blog posts and Pages from WordPress to Shopify:
- Use “Wp All Export” plugin to export blog posts and pages.
- Rename the export sheet name and save name like “WordPress-Posts-Export-2026-January-23-1638.csv”.
- Use the matrixify app in Shopify and upload file.
- Select Import options – select “Dry-run” and fill Old server URL.
- Download Matrixify-generated files.
- Upload the image files to your Content -> Files section in Admin.
- Review the generated Excel file carefully and remove or correct any unnecessary information before proceeding, particularly if this was a dry run.
- Import your Excel file into the Matrixify app to create your blog posts or pages (if you have completed a dry run).
- Review your Import Results file after the import is completed.
- Enjoy your newly migrated data.
1. Export your WordPress blog posts or pages using the ‘All Export’ plugin:
On your WordPress site, to export all the necessary post details, you first need to install the ‘All Export’ plugin. Once the plugin is installed and activated, go to the left-hand menu and
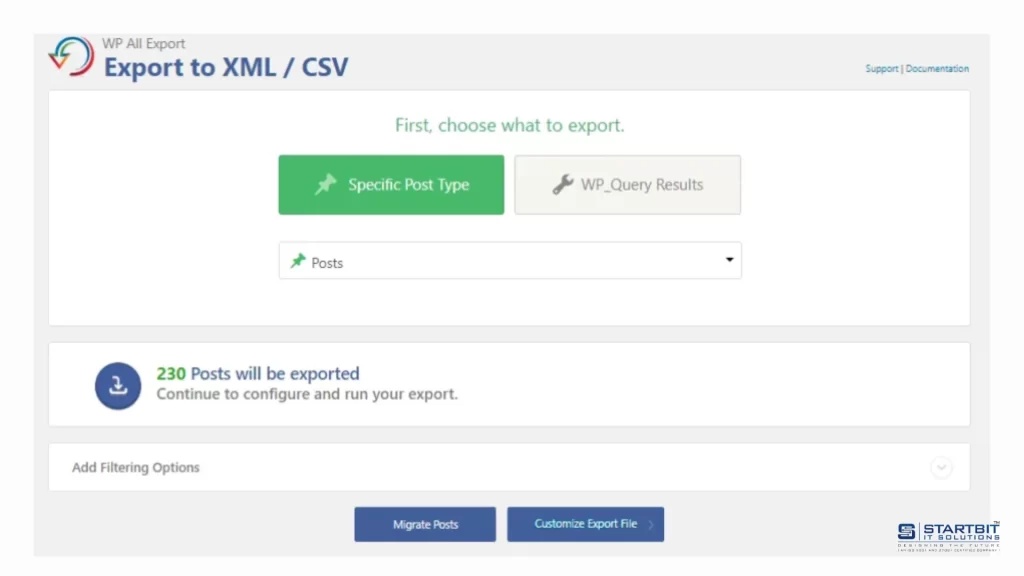
click on ‘All Export’ → ‘New Export.’
Select ‘Post Type’ and choose ‘Posts’ or ‘Pages’ from the dropdown – depending on what you want to migrate – then click ‘Customize Export File.’
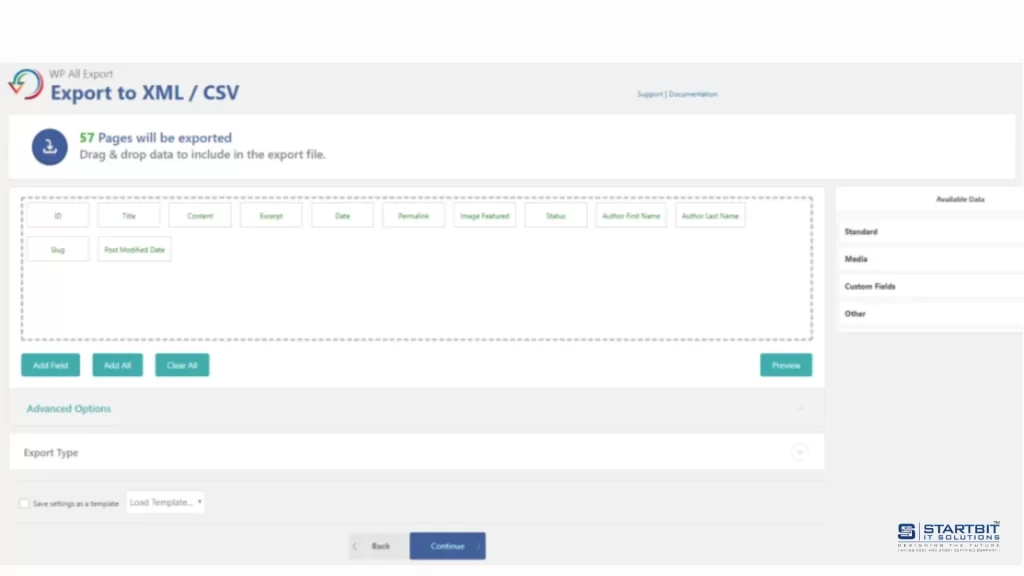
Customize Export File:
You can select specific fields based on your requirements to export data for your posts.
You may also choose the ‘Add All’ option; however, in some cases this can cause issues with the CSV structure and result in a corrupted file. Therefore, we recommend selecting only the specific fields listed below for your export.
I am sharing the fields that should be selected during the export.
WP Blog Posts Export Fields:
Standard – ID, Title, Content, Excerpt, Date, Permalink
Media/Images – Alt Text, Featured
Taxonomies – Categories, Tags
Custom Fields – _yoast_wpseo_metadesc, _yoast_wpseo_title (Optional SEO fields from Yoast plugin)
Other – Status, Author First Name, Author Last Name, Slug, Post Modified Date
WP Pages Export Fields:
Standard – ID, Title, Content, Date, Permalink
Custom Fields – _yoast_wpseo_metadesc, _yoast_wpseo_title (Optional SEO fields from Yoast plugin)
Other – Status, Author First Name, Author Last Name, Slug, Post Modified Date
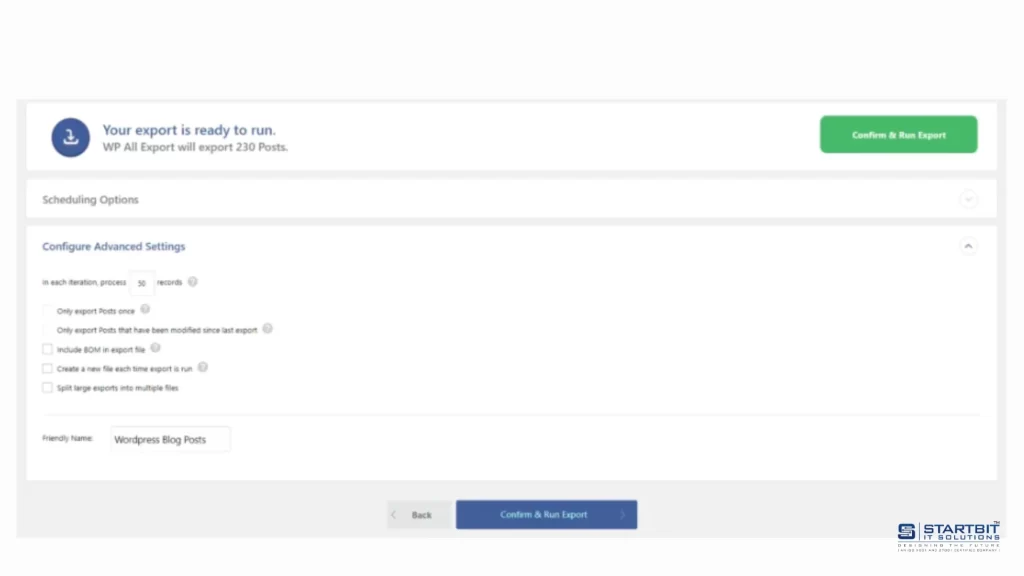
After selecting the required fields, proceed by clicking ‘Continue.’ On this page, you may select any additional options as needed. In the ‘Friendly Name’ field, you can also assign a Matrixify-friendly name to your export file – for example, ‘WP Blog Post’.
After selecting the required options, click the ‘Confirm & Run Export’ button to start the export process.
Now you will need to wait a moment while the items are being exported. Once the process is complete, click the ‘CSV’ button to download the exported file.
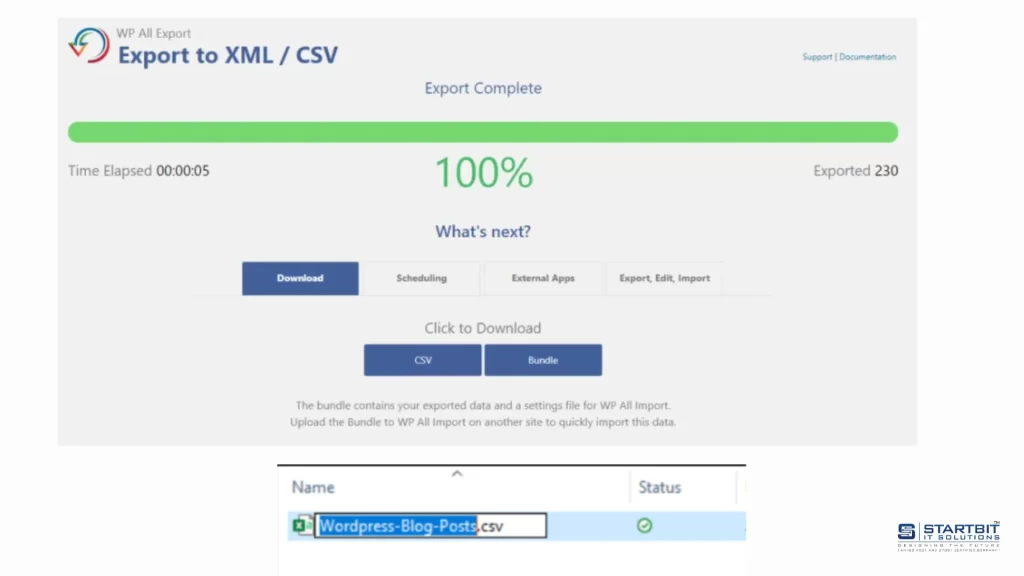
2. Rename the exported file to an Appropriate Name:
After downloading the file, it is important not to open or edit it, as Excel or similar programs may alter the CSV structure. Re-saving the file can corrupt the data. If you did not set a ‘Friendly Name,’ you will need to rename the file manually – for example, ‘WordPress-Blog-Posts.csv’ or ‘WordPress-Blog-Pages.csv,’ depending on the selected content type.
3. Upload the file to Matrixify Shopify:
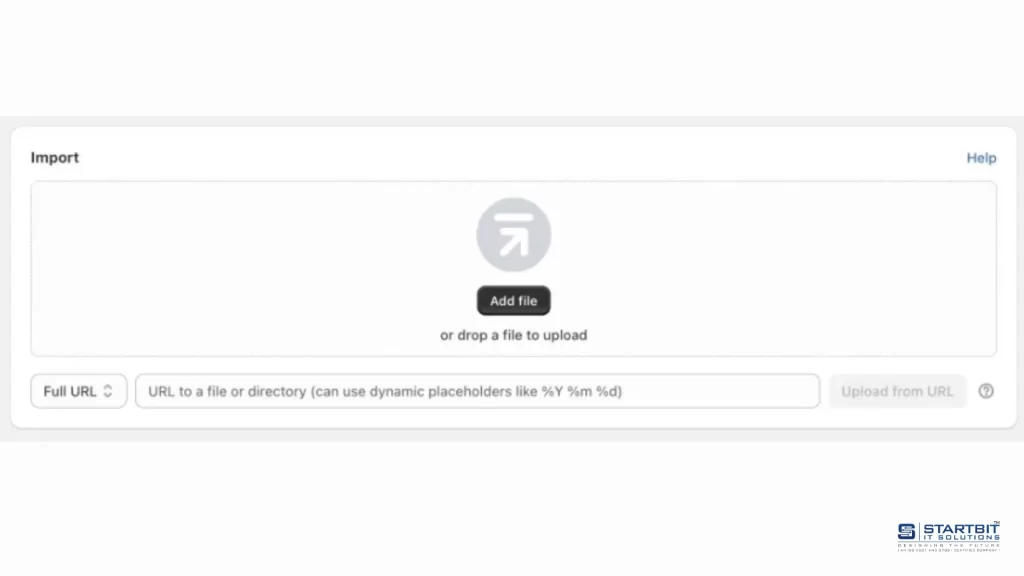
Open the Matrixify app in Shopify. On the app’s home page, locate the ‘Import’ section, then click the ‘Add File’ button or simply drag and drop your file into that area.
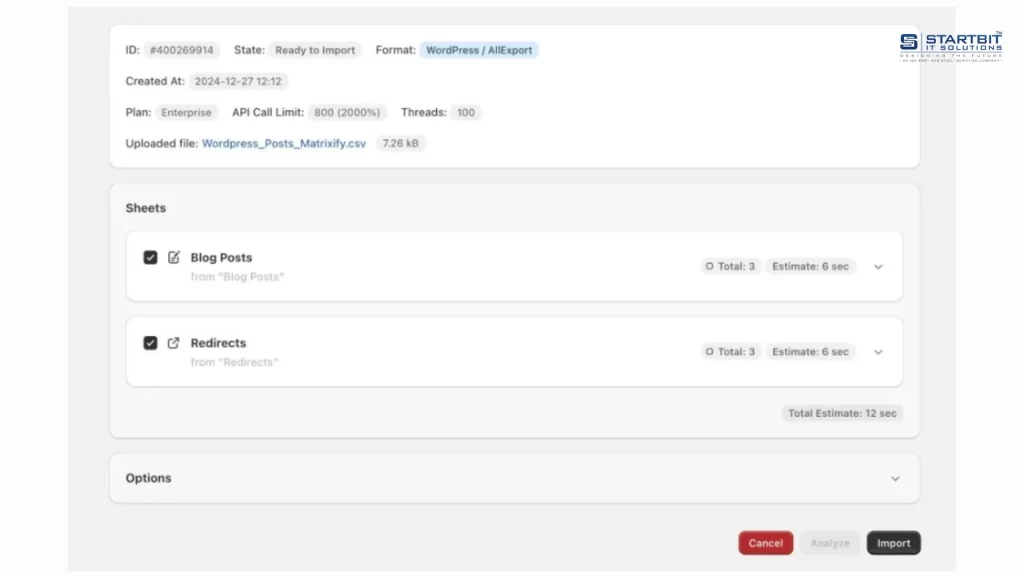
First, the app will upload and analyze the file. Once the analysis is complete, ensure that the app has recognized the file format as ‘WordPress’ and identified it as Blog Posts (or Pages).
You will also see that the app automatically generates redirects, since Shopify blog posts and pages use different URL paths compared to WordPress.
4. Choose the Import option:
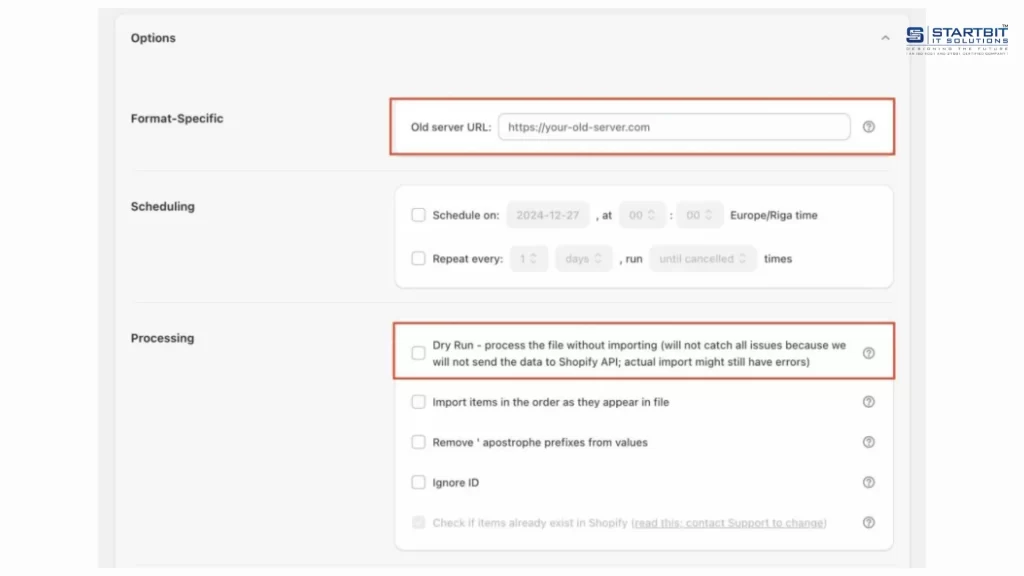
- Open the ‘Options’ section of the import job to configure your import settings.
- Locate the ‘Old Server URL’ field and enter the website domain that appears when you are logged into the WordPress admin panel.
This domain URL will be used by the app for two main purposes:
- If the post or page content contains relative image links without a domain, the app will use the provided domain to construct the full image URL for downloading those images.
- When the store URL is entered, the app attempts to fetch posts and pages directly via the WordPress API. This method is beneficial because the API delivers front-end HTML output, ensuring that formatting and layouts created with WordPress plugins are migrated more accurately.
Enable “Dry-run”:
In the Import Options section of the import job, select the option “Dry Run – convert the file and test as far as possible without actually importing anything.”
Using Dry Run, the app will not import any data into the store. Instead, it will generate a Matrixify Excel file and an Images folder extracted from the content.
5. Download the files generated by Matrixify:
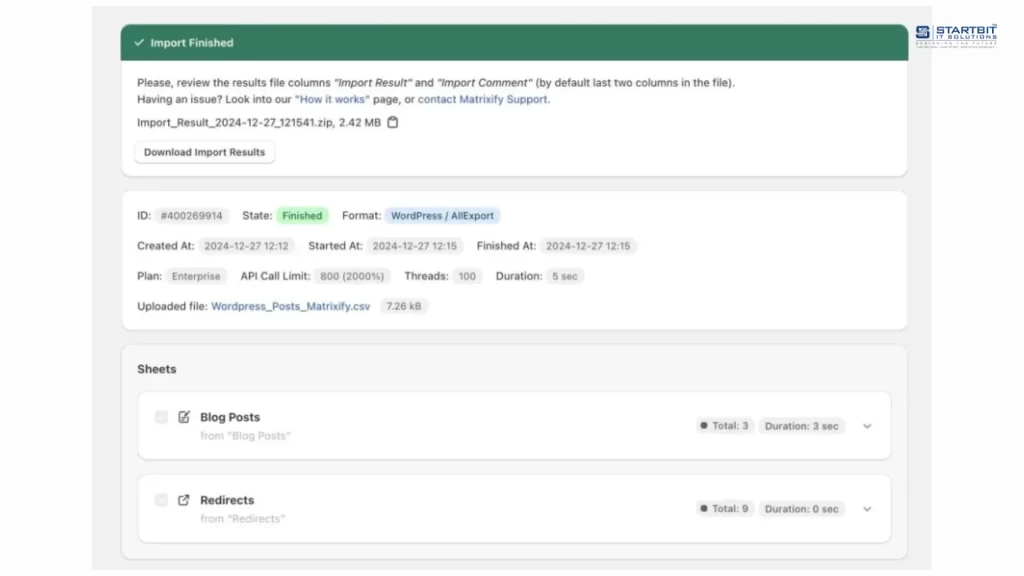
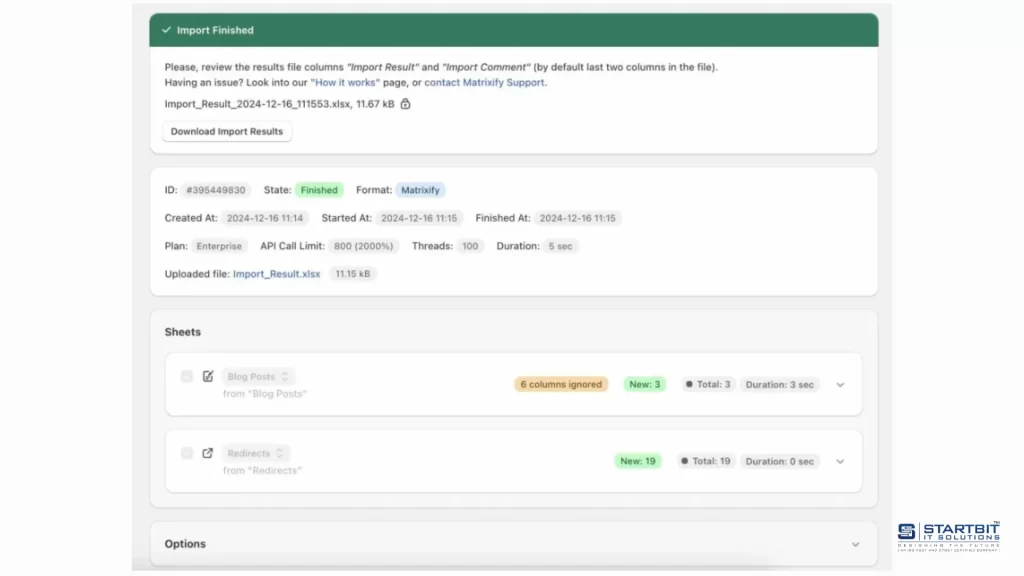
Once the app finishes generating the files, a green ‘Finished’ label will appear for the job. You can then click the ‘Download Import Result’ button to download your file.
6. Upload the generated images to Shopify Files:
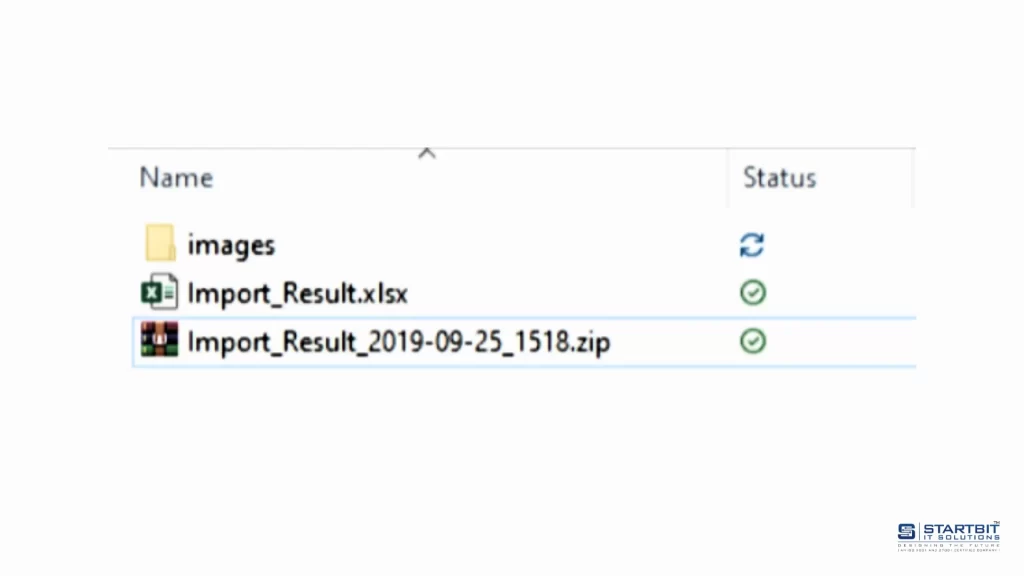
Open the exported ZIP file and locate the ‘Images’ directory, which includes all images associated with the selected blog posts or pages.
Now go to your Shopify Admin, navigate to Content → Files, click ‘Upload files,’ and upload the file.
7. Excel file generated by Matrixify:
This file should contain two sheets – ‘Blog Posts’ (or ‘Pages’) and ‘Redirects.’
This is a good opportunity to clean up any data that you do not want to migrate to Shopify.
Please review the file carefully for any obvious errors or incorrect information and correct them before proceeding.
8. Import your prepared Excel file into the Matrixify app:
Once you have verified that the Excel data is accurate and all images are uploaded, navigate to the Matrixify app in Shopify, open the ‘Import’ section, and upload the generated Excel file to proceed.
9. After Import Check Import Results:
If any items have failed, you can download the Import Results file after the import is complete and check the ‘Import Comment’ column. This column will explain why each item failed.
10. Enjoy your newly migrated data:
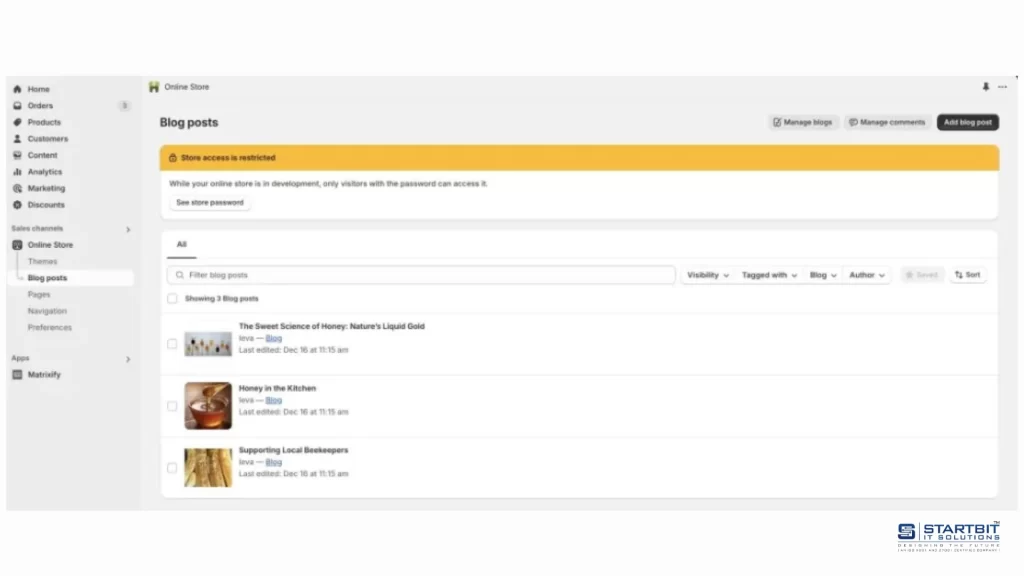
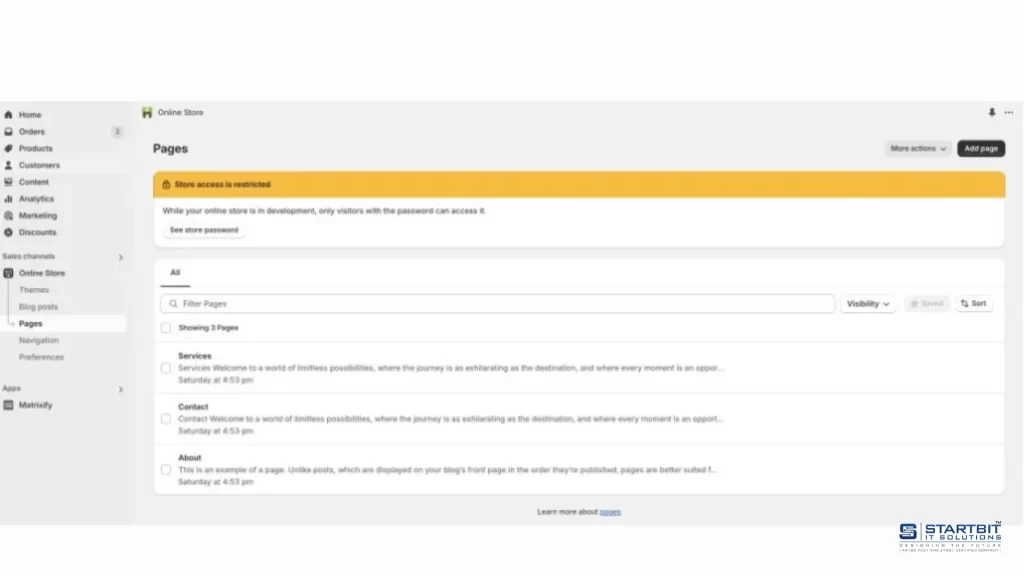
Once the import is complete, a green ‘Finished’ label will appear. You can then go to your Shopify Admin to review the migrated blog posts or pages.
Conclusion:
Migrating blog posts and pages from WordPress to Shopify requires more than just exporting and importing files – it demands accuracy, proper SEO handling, and careful validation. By using tools like WP All Export and Matrixify, businesses can streamline the process, preserve metadata, maintain redirects, and protect search rankings.
At Startbit IT Solutions, we make WordPress to Shopify migration smooth and stress-free. From structured exports and SEO preservation to image handling and post-migration testing, we ensure your content transitions seamlessly without data loss or performance issues. Let our experts handle the technical complexities while you focus on growing your business.